
KNX Presence Sensor Placement Guide
Place KNX presence sensors correctly using seated detection areas, mounting height, line of sight, daylight zones, room use, and an on-site test plan.
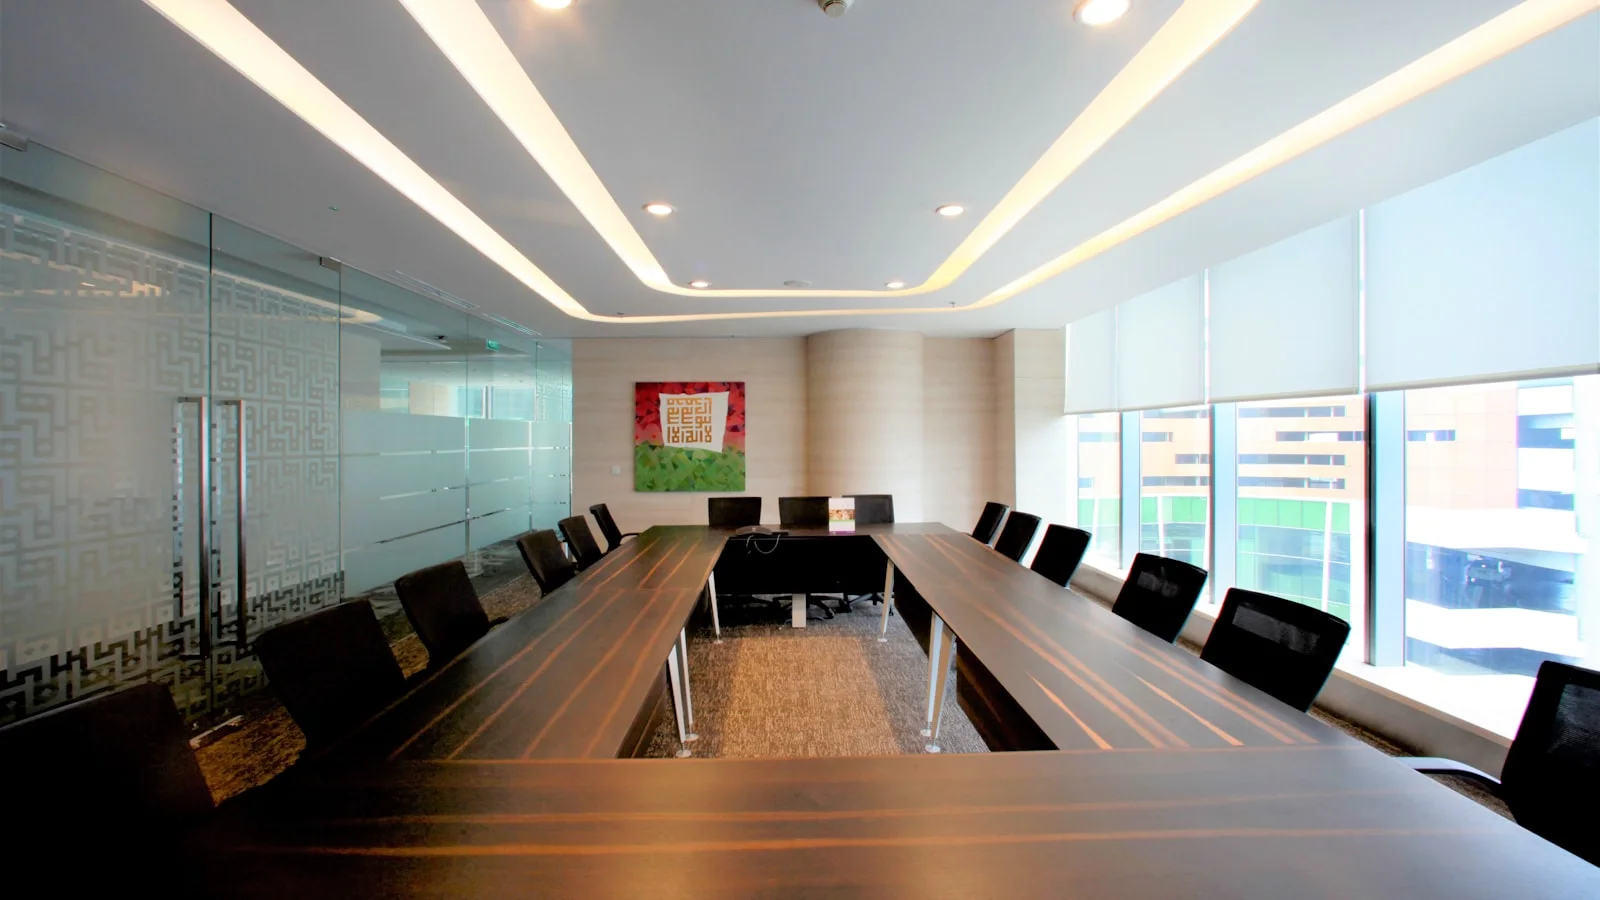
A KNX presence sensor should be placed for the smallest movement that matters, not for the largest circle printed on a brochure. In an office, that usually means a seated person typing or reading. The walking detection area can be much larger and is a poor basis for desk coverage.
The recurring site problem is simple: the electrical drawing shows one sensor in the geometric centre of the room, but the final furniture, pendant lights, supply diffusers, and partitions make that location wrong. Placement has to be coordinated with the room use and the finished ceiling.
Presence detection is not one number
Manufacturers often publish separate coverage for seated and walking people. The difference can be substantial.
For example, one current square-area KNX detector lists the following values:
| Mounting height | Seated-person area | Walking-person area |
|---|---|---|
| 2.0 m | 9 m² (3 × 3 m) | 20 m² (4.5 × 4.5 m) |
| 2.5 m | 16 m² (4 × 4 m) | 36 m² (6 × 6 m) |
| 3.0 m | 20 m² (4.5 × 4.5 m) | 49 m² (7 × 7 m) |
These are product-specific planning values, not a universal KNX rule. Another lens, sensor technology, mounting height, ambient temperature, or movement direction produces different results. Use the exact datasheet and detection diagram for the selected part number.
PIR detectors also need line of sight. They detect changes across lens zones, so a person walking across the field is generally easier to detect than someone moving directly toward the detector. A seated occupant making small hand movements is the more demanding case.
Select technology before drawing coverage
| Technology | Useful characteristic | Placement concern |
|---|---|---|
| Passive infrared (PIR) | No emitted signal; well understood; precise zones | Needs line of sight; small motion and high mounting can be difficult |
| High frequency/radar | Can detect fine movement and may see through light materials | Range must be contained to avoid detecting adjacent spaces |
| Ultrasonic | Sensitive to small movement and can cover complex shapes | Air movement and boundary leakage need careful evaluation |
| Dual technology | Combines sensing methods to improve confidence | More parameters and higher cost; still needs commissioning |
KNX is the communication and application platform; it does not change the physics of the sensor. A sophisticated ETS parameter set cannot correct a lens blocked by a pendant luminaire.
A placement workflow that survives construction
1. Mark the occupied task areas
Start with furniture, not ceiling tiles. Mark desks, meeting chairs, reception positions, toilet cubicles, storage aisles, and circulation paths. Separate spaces where a person may sit nearly still from spaces where people always walk.
For an open office, do not assume the whole floor is one occupancy zone. If lighting rows, HVAC zones, or tenant areas operate independently, the sensing zones should support that division.
2. Confirm the finished mounting height
Use the distance from the sensor lens to the occupied plane. A sensor below a raft ceiling at 2.7 m behaves differently from one fixed to a structural slab at 4.2 m.
Higher mounting can enlarge the nominal walking area while reducing sensitivity to small movement. Some detectors specifically require overlapping coverage above a stated height. Warehouse/high-bay detectors use different optics; they should not be substituted with an office sensor simply because both have a 360° label.
3. Overlay the correct detection shape
Use the seated shape over desks and meeting tables. Use the walking shape for corridors and circulation. Keep the manufacturer’s orientation on the drawing: a rectangular corridor lens or square office lens is useful only if it is rotated correctly.
Overlap adjacent zones at their real detection boundary rather than placing sensor centres one advertised diameter apart. Edges are where sensitivity, tolerances, furniture changes, and installation errors accumulate.
4. Check for physical shadows
Typical blockers include:
- full-height and mobile partitions;
- tall storage and planting;
- pendant luminaires and acoustic baffles;
- ceiling rafts and bulkheads;
- ductwork beneath open ceilings;
- door leaves and structural beams.
Glass is not a dependable PIR window. Treat a glazed meeting room as its own detection space unless the selected technology and test prove otherwise.
5. Check false-trigger sources
Keep PIR sensors away from unstable thermal scenes such as direct hot-air discharge, radiant heaters, rapidly heated sun patches, or moving warm equipment. For radar/HF devices, check whether the adjusted range reaches through light partitions, doors, or glazing into corridors and neighbouring rooms.
Then review the doorway. A sensor intended for a small office should not keep the room occupied whenever someone passes outside.
Coordinate daylight measurement separately
Many KNX presence sensors also measure brightness. The best point for motion coverage is not always the best point for light measurement.
The sensor usually sees reflected light from the working plane plus daylight and electric light within its field. Its value can be distorted by:
- mounting directly above a dark table or bright white cabinet;
- a pendant luminaire shining into or shielding the sensor;
- direct sunlight;
- window and internal lighting rows with very different daylight contribution;
- furniture arriving after lux calibration.
| Room condition | Better control approach |
|---|---|
| Small office with even daylight | One combined presence/lux sensor may be adequate |
| Deep open office | Separate window and internal lighting zones |
| Suspended decorative lighting | Verify sensor view or use a remote light sensor |
| Frequently changing partitions | Use smaller adjustable zones and accessible sensors |
| High daylight contrast | Commission closed-loop control after furniture is installed |
Record whether the device reports raw lux, a corrected room value, or only uses brightness internally. A BMS trend is misleading if nobody knows what the number represents.
Placement patterns by room type
| Space | Starting approach | Common mistake |
|---|---|---|
| Cellular office | Cover the desk with seated range; mask doorway if needed | Centring on the room while desk sits at the edge |
| Meeting room | Cover all chairs and presentation position | Testing only with people walking around |
| Open office | Zone by lighting/HVAC/furniture module with overlap | One large sensor controlling an entire floor |
| Corridor | Use longitudinal/rectangular optics aligned with travel | Circular office sensor leaves gaps or sees into rooms |
| Washroom | Account for cubicle partitions and still occupants | Sensor sees entrance but not enclosed cubicles |
| Store room | Cover aisles and entrances; short practical timeout | Shelving creates detection shadows |
| Reception | Prioritize seated workstation and visitor area | Traffic outside glazing holds the zone on |
These are design starting points. The selected device’s documentation and a site test remain authoritative.
Lighting and HVAC need different timers
One presence object can feed several functions, but it should not force every function to use the same delay.
Lighting may use manual ON/automatic OFF in daylit offices, with a short warning or fade before switching off. HVAC normally needs longer occupancy and absence qualification to avoid hunting valves, fans, and setpoints every time someone steps out for coffee. Space-utilization analytics may require still another time base and privacy policy.
Example object plan:
Room 2.14 / Presence Raw
Room 2.14 / Lighting Occupied
Room 2.14 / HVAC Occupied
Room 2.14 / Brightness Value
Room 2.14 / Manual Lighting Override
Keep the raw sensor event available where useful, then create application-specific states in a clearly owned controller. Document retriggering, delays, manual override, and restart behaviour.
Put sensor details on the drawing
A circle without notes is not a coordinated design. The reflected ceiling plan or sensor schedule should include:
- device type and lens/variant;
- mounting height and orientation;
- seated and walking design zones;
- masked sectors or range limit;
- controlled lighting and HVAC zones;
- brightness-measurement responsibility;
- master/slave relationship if used;
- KNX line and physical address placeholder;
- access requirement for programming and service.
Issue a revised drawing after ceiling coordination. Moving a sensor one tile can matter.
Commissioning: test the boring movements
Do not commission presence control by waving at the ceiling.
| Test | Method | Pass condition |
|---|---|---|
| Desk presence | Sit, type, read, and use a mouse for the full delay period | Zone remains occupied without exaggerated movement |
| Boundary | Walk slowly along edge and between sensors | No unintended gap |
| Adjacent space | Move in corridor or neighbouring room | Target room does not trigger |
| Absence timeout | Leave normally and start a timer | Lighting/HVAC states change at documented times |
| Manual override | Switch/dim locally during occupancy and absence | Override behaviour and release are predictable |
| Daylight loop | Test window and internal rows under changing light | Stable control without hunting |
| Restart | Cycle device/bus power as approved | Sensor returns to documented state |
Test after furniture and partitions are installed. Save final sensitivity, thresholds, delays, and masking in the ETS project and commissioning sheet.
FAQ
How many KNX presence sensors does an office need?
Calculate from the selected detector’s seated-person area, mounting height, obstacles, and control zones. Floor area divided by advertised maximum range is not a reliable method.
What is the best mounting height for a presence detector?
Use the manufacturer’s recommended range for the exact device. Many office PIR products are optimized around typical finished ceilings, but sensitivity and coverage change with height.
Should office lights switch on automatically?
Not always. Manual ON with automatic OFF often avoids unnecessary lighting in daylit rooms. Corridors, washrooms, and safety-related routes may need a different policy based on code and operation.
Can one KNX sensor control lighting and HVAC?
Yes, if it provides suitable objects or its presence signal is processed elsewhere. Use separate application timers and modes; lighting and HVAC should not blindly share one timeout.
Technical references
- Theben, PlanoSpot 360 KNX detection areas by mounting height
- Theben, presence detector planning guidance for seated and walking persons
- Theben, corridor detector planning example
- STEINEL, KNX office presence detector mounting and detection data
- KNXmart, KNX sensors for comfort and energy
- KNXmart, KNX lighting control design
The right placement is the one that detects a quiet user, ignores the next room, measures useful light, and can still be reached when the ceiling is finished.